Face-Nailing Hardwood Floors 101
- Published By: District Floor Depot
5/5
Share on Facebook
Share on Pinterest
Share on Linkedin
Share on Twitter
Share via Email
Before the days of staple guns and prefinished flooring, many people used face-nailing to secure hardwood flooring. This finishing style is still used today by people who love the rustic look of exposed nails against natural wood. Ready to embrace the rustic vibe? Here’s how to face-nail your next floor.
What Is Face-Nailed Flooring?
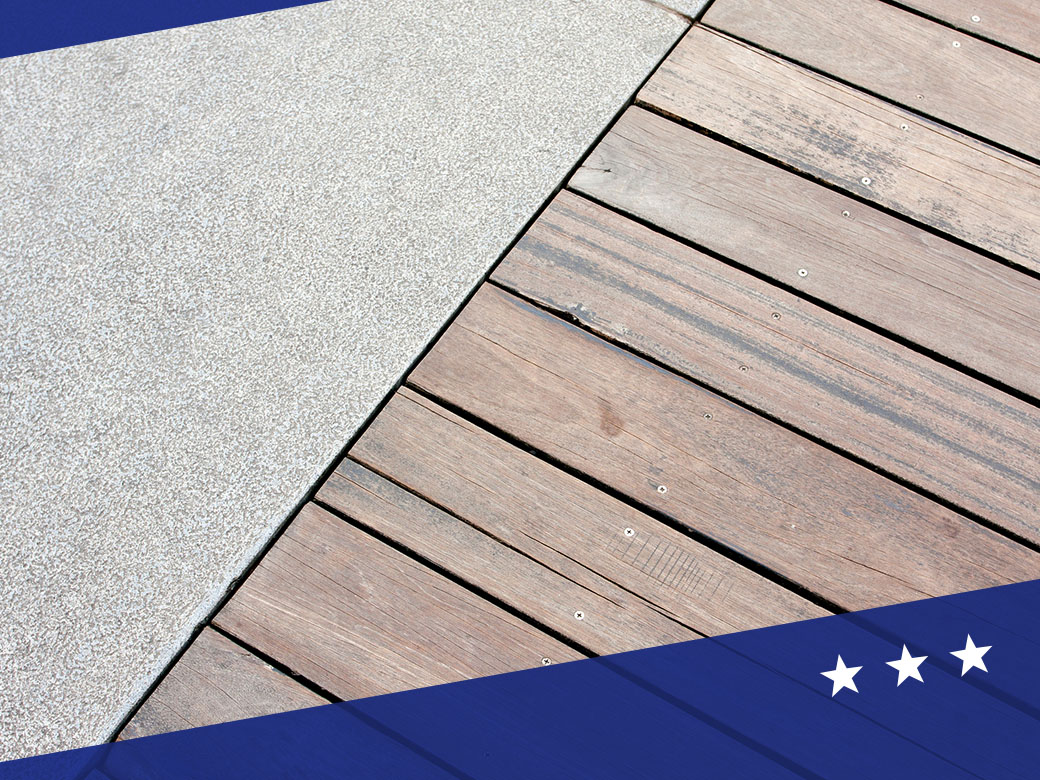
Face-nailed flooring is secured by nailing straight down through hardwood planks into the joists under the subfloor. Modern carpenters often use face-nailing to secure boards along the edge of the wall, where there’s not much room to install boards another way.
However, you can also face-nail throughout your flooring installation as an artistic choice. The look of a face-nailed floor mainly depends on the wood and the type of nails you use. Square-head nails give a rustic look, while smaller nails can be almost invisible. By countersinking nails with a nail punch and filling them in with a wood putty that complements your floors, you can hide the nails completely.
How to Do Face-Nailing
If you love the rustic look, follow these five steps to face-nail down your next flooring installation:
- Let the flooring sit for at least 3 days to acclimate and adjust to the moisture content in the air, which helps prevent warping after installation. You can check this with a moisture meter before you start working on the floor.
- Prepare your subfloor and the floor underlayment. This underlayment will protect the hardwood floor from moisture so it doesn’t expand and change shape over time.
- Once the subflooring is ready, push the first plank as close to the wall as possible and hold it in place while you nail it down.
- If you’re using a small nail gun, you can nail planks as you go. If you’re using larger square-head nails, you should drill each nail hole before adding the nail to avoid splitting planks.
- As you go, use a flooring hammer, rubber mallet or wedges to tap the planks together and ensure they’re joined together as tightly as possible.
Get Flooring and Installation Services From District Floor Depot
Not sure you want to install flooring on your own? At District Floor Depot, we offer beautiful flooring and floor installation services. Our options come with beveled or square edges, and we buy our products mill-direct so you save on the overall cost. Contact us today to schedule your consultation!