Step-by-Step Guide to Installing Shoe Molding
- Published By: District Floor Depot

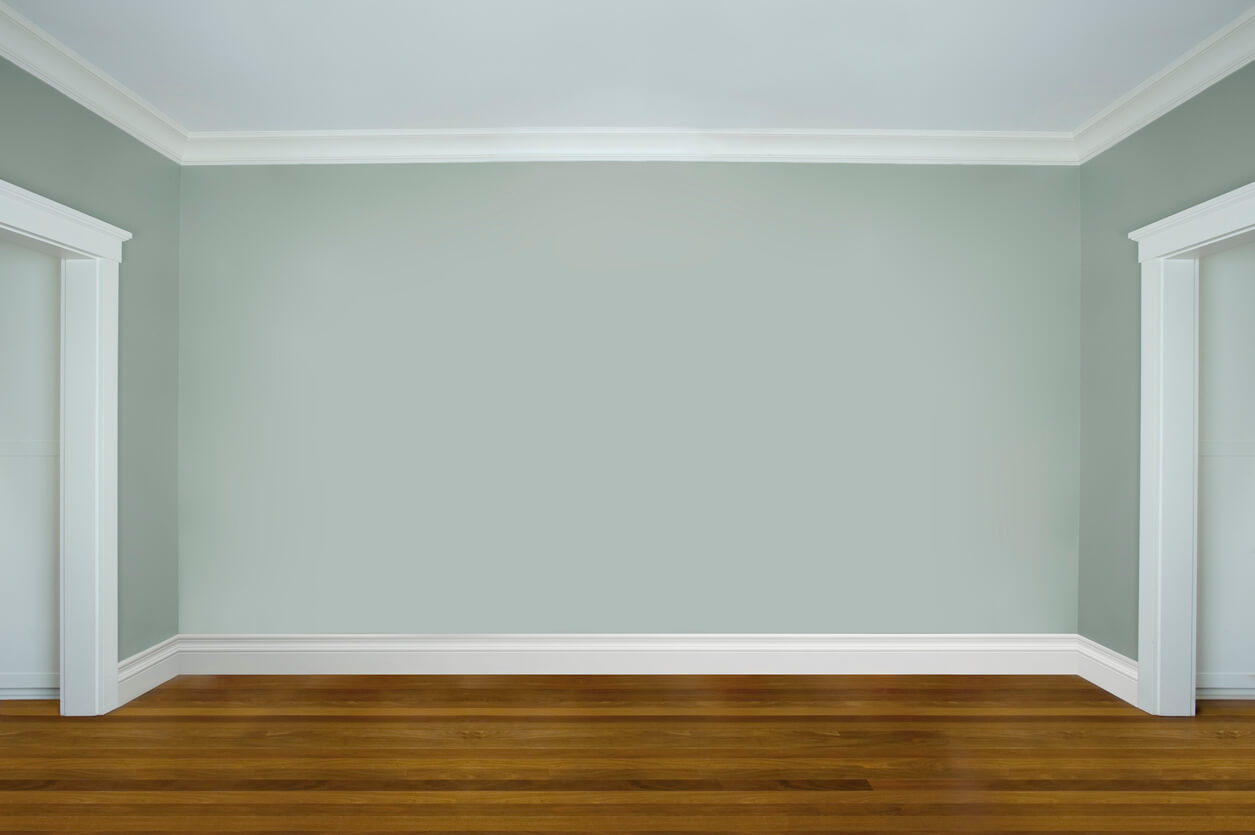
Baseboards are necessary to complete a room, but since perfectly flat and smooth floors are difficult to find, how do you fix the gap between the flooring and the baseboard? Shoe molding is most often used to cover any of these gaps. The flexibility of shoe molding allows you to bend it down to conform to the uneven floors.
Sometimes homeowners may opt for adding caulk to the gaps, but this does not provide the most visually pleasing solution. Installing shoe molding is a better option for a professional, elegant look. Use shoe molding and baseboards as a team in rooms with hardwood flooring to give it a polished look.
Some may use shoe molding and quarter-round interchangeably, but the two are different molding options. Quarter round, as the name suggests, when viewed from the end will look to be one-quarter of a full circle. The length of the quarter round where it protrudes from the wall is the same as its height.
While at first glance, shoe molding may appear the same as quarter round, examining closer will prove otherwise. Looking at shoe molding from the side, you will see that its height is greater than the length that protrudes from the wall. The shorter protrusion length from the wall is what makes shoe molding fit perfectly with the baseboard and gives the trim a more finished look.
Installing shoe molding is a fairly easy do-it-yourself project, even if it is your first time installing it into hardwood flooring. Use this step-by-step guide to create a professional finished look.
Tools and Materials Needed to Install Shoe Molding
- Miter Saw
- Belt Sander
- Pneumatic Brad Nailer
- Wood Block
- 1/8-inch Thick Spacer
- Stain Marker
- Pencil
- Wood Glue
- Nails
- Base Shoe Molding
Steps for Installing Finished Shoe Molding
The 10 steps for successfully installing shoe molding are as follows:
- Choose Your Molding
- Mark/Measure Your Molding
- Cut Your Molding
- Test the Fit
- Sand and Finish
- Ensure a No-Gap Fit
- Cope Inside Corners
- Install Outside Corners
- Flatten Protruding Nails
- Touch Up
Next, let’s discuss each step individually.
1. Choose Your Molding
The first step is to choose the shoe molding to complete your project. There is a wide range of commercially available base shoe profiles and sizes, both unfinished and prefinished. District Floor Depot offers both unfinished and prefinished shoe molding to fit your needs.
- Unfinished: This means the molding has not been stained or painted. Choosing the wood species that match your baseboard is essential for a flawless look when staining. When choosing an unfinished molding, it is best to paint or stain the full-length molding pieces first.
- Prefinished: This means the molding is ready to be installed without additional finish work for you to complete. Prefinished shoe molding helps make the installation quicker.
2. Mark Molding
To make shoe molding fit flawlessly with the baseboard, measure the full length of the wall from an inside corner, and use a pencil to mark the place to make the miter cut. You want to begin in one corner and move around the room in one direction.
Tip: You may want to practice on a few scrap molding pieces to get the exact fit desired.
3. Cut Molding
Ensure your miter saw is set to make a 45-degree cut and cut on the outside of your pencil mark to ensure it is not cut too short. Then reverse the saw to 45-degree in the opposite direction to cut the other end of the molding.
Tip: If working with stained molding, use a stain marker to cover up the raw-wood look after cutting.
4. Test the Fit
Set the cut piece into its position to double-check that it is the correct length.
5. Sand and Finish
For removing a small amount from the molding, and to remove any rough edges, use a belt sander. Carefully placing the molding up to the sander will remove a minimal amount and ensure a snug fit, especially on the corners.
6. Ensure a No-Gap Fit
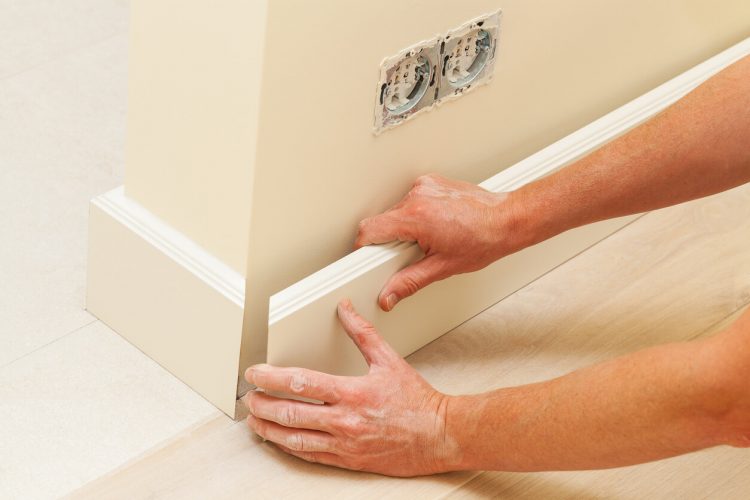
To ensure a no-gap fit, push down on the base shoe molding using a wood block to keep it against the floor. Using a pneumatic brad nailer, attach the shoe molding to the baseboard.
Tip: It is important to remember that shoe molding should always be nailed into the baseboard and never into the floor.
7. Cope Inside Corners
For tight-fitting joints, it is important to cope the inside corners. To create a cope joint, cut the first piece of trim at a 90-degree angle so it fits tightly in the corner. Then, for the next piece, cut it at a 45-degree angle. Coping makes molding look great even if the corner is out of square, which is the case in most older houses and even with some new construction.
8. Install Outside Corner
For the outside corners of shoe molding, the end of each molding piece coming together will be mitered at opposite 45-degree angles. Add a touch of glue to help ensure the joint will stay closed and looking great after installation.

Tip: Do not drive nails too close to the end as it could cause splitting on this small-sized lumber.
9. Flatten Any Protruding Nails
While using a pneumatic brad nailer that is set to correct depth reduces the chances of having protruding nails, it does occasionally happen. If you find nails protruding from the molding, use a nail set and hammer to lightly tap the nail heads until they are just below the surface of the molding.
10. Touch Up
After installation, you may find spots on the shoe molding or baseboard that need touching up. Use matching paint or a stain marker to touch up any nicks or marks on the trim. If there are small gaps between molding pieces because the corners were out of square or the floor being uneven, use matching wood putty for stained trim or caulk for painted trim to fill in those gaps.
Contact Your Hardwood Flooring Experts
District Floor Depot offers multiple types of shoe molding and can help with the installation of your shoe molding. The team at District Floor Depot is the ultimate flooring experts in Washington D.C. and Herndon, VA. Trust us for all your hardwood flooring needs. Contact District Floor Depot today for your wood floor or shoe molding installation.
